Views: 0 Author: Site Editor Publish Time: 2026-06-13 Origin: Site
A malfunctioning power supply unit disrupts productivity immediately. More importantly, it creates hidden fire hazards in your home or office. Electrical faults demand strict attention and proper handling. We cannot ignore warning signs like intermittent power drops or frayed cables. This guide provides a clear methodology to safely diagnose, open, and repair common electrical faults. We establish strict safety thresholds to help you determine when DIY repairs work and when they become dangerous.
You will learn the precise difference between fixing a minor external cord fault and dealing with complex internal circuitry. While repairing severed cables saves money, improper work on high-draw components carries severe safety and compliance risks. Modifying mains voltage equipment requires respect for fundamental engineering standards. By following these industry-aligned steps, you can confidently address basic mechanical failures without compromising your safety. You will learn exactly what to look for, which tools to use, and when to step away.
Assessing visible damage (melted plastic, scorch marks) is the mandatory first step; thermally damaged units must be discarded immediately.
Minor physical faults, such as severed external cables or blown fuses, are generally safe for experienced DIYers to repair.
Internal printed circuit board (PCB) failures, particularly in a USB extension socket, are rarely cost-effective or safe to repair and typically warrant a full replacement.
Post-repair continuity testing with a multimeter is non-negotiable before returning the unit to active service.
Not every broken device deserves a repair attempt. Before you pick up a screwdriver, you must evaluate the true nature of the fault. We must weigh the financial savings against the potential dangers of a compromised electrical system.
You must differentiate between mechanical failures and electrical failures. Mechanical failures typically include broken physical switches, cracked outer casings, or loose external wires near the plug block. These external issues isolate easily. You can often repair them by simply shortening the cable and re-terminating the connections. Electrical failures present a higher risk profile. Burnt internal copper traces, tripped surge protectors, or blown metal-oxide varistors (MOVs) indicate severe internal stress. You cannot safely repair damaged MOVs. Once a surge protector sacrifices its components to stop a power spike, it has done its job.
Compare the nominal cost of purchasing a certified new standard extension socket against the time investment and potential fire risk. A basic strip costs very little. If an old, degraded unit fails, attempting to patch burnt wires introduces significant risk. A loose internal terminal creates high electrical resistance. This resistance generates heat, eventually melting the surrounding plastic and starting a fire. Only repair high-quality, heavy-duty units where the cost of replacement justifies the labor.
Some warning signs mandate an immediate trip to the recycling bin. Do not attempt to salvage a unit if you observe the following:
Melted or warped plastic housing: This indicates the internal temperatures exceeded the plastic's thermal limits.
Smell of ozone or burning plastic: Ozone smells similar to bleach or chlorine. This scent means electrical arcing is happening inside the case.
Water damage or severe corrosion: Moisture degrades internal brass rails. Corrosion prevents clean electrical contact, leading to dangerous voltage drops.
Consider equipment failure as a prime opportunity to upgrade. Older power strips lack modern safety features. If your broken unit lacks an internal circuit breaker, it is time to buy a better model. New units feature higher Joules ratings for surge protection and integrated smart features. Sometimes, letting go of outdated hardware is the safest decision you can make.
Repair vs. Replace Decision Matrix | ||
Failure Type | Symptom | Recommended Action |
|---|---|---|
Mechanical Fault | Frayed cord near the plug | Repair (Trim and re-terminate) |
Minor Component | Blown internal fuse (13A/15A) | Repair (Replace fuse) |
Severe Electrical | Ozone smell, scorch marks | Discard Immediately |
Thermal Damage | Warped or melted plastic | Discard Immediately |
Proper preparation separates a successful repair from a dangerous accident. Working with mains voltage requires specific tools and an unwavering commitment to safety protocols.
You must complete a full disconnection from mains power before doing anything else. Never assume a switched-off wall outlet is truly dead. Unplug the device entirely. Move it to a clear, well-lit workbench. Verify zero voltage before commencing any teardown. Even unplugged, internal capacitors on complex boards can hold a residual charge. Treat every wire as live until you personally verify otherwise.
Do not attempt to pry open plastic housings with kitchen knives. You need dedicated electrical tools to ensure a safe, permanent fix. Gather the following toolkit:
Digital multimeter: Essential for continuity and resistance testing. You cannot diagnose invisible wire breaks without one.
Wire strippers: Using scissors damages the internal copper strands. Wire strippers remove insulation cleanly.
Precision screwdrivers: Manufacturers often use Torx, tri-wing, or spanner-head screws to deter amateur tampering.
Replacement fuses: These must match the exact amperage of the original unit. Typically, this is 13A or 15A depending on your region. Never bypass a fuse with tin foil or a wire bridge.
Modifying electrical hardware carries legal and financial consequences. Opening the casing automatically voids all manufacturer warranties. More importantly, in many jurisdictions, improper DIY modifications can impact your home insurance policies. If a fire investigator traces a house fire back to a poorly modified device, your insurance provider may deny the claim. Proceed only if you possess the necessary experience to perform safe, code-compliant wire terminations.
Accurate diagnosis prevents unnecessary teardowns. Often, the failure point is easily identifiable through basic observation.
Start with a thorough physical examination. Check for frayed outer insulation near the strain relief collar. This spot sits right where the cable enters the plastic housing. Constant bending and pulling weaken the copper strands here over time. It stands as the single most common failure point in portable power units. Next, inspect the plug head. Look for bent pins, dark carbon deposits, or a blown internal fuse. Sniff the casing closely. A distinct fishy or burning plastic smell indicates extreme heat buildup at a weak connection point.
If you find no visual damage, you must test the internal pathways. A digital multimeter takes the guesswork out of electrical troubleshooting.
Set your multimeter to the continuity or lowest Ohms setting. Probe from the plug pins to the internal brass busbars. This process isolates breaks in the Live, Neutral, or Earth wires. A continuous beep or a reading close to zero Ohms means the wire is intact. Infinite resistance (often displayed as "OL") means the wire is completely severed inside the insulation.
Power switches fail frequently due to mechanical wear and carbon buildup on their internal contacts. Test resistance across the rocker switch terminals in both the ON and OFF positions. In the ON position, you should see zero resistance. If the meter reads several Ohms or fluctuates wildly, the switch contacts are burnt. This carbon buildup restricts current flow, causing the switch to overheat during use.
Once you diagnose a severed cord near the entry point, you can proceed with a repair. Follow these steps meticulously to restore the unit safely.
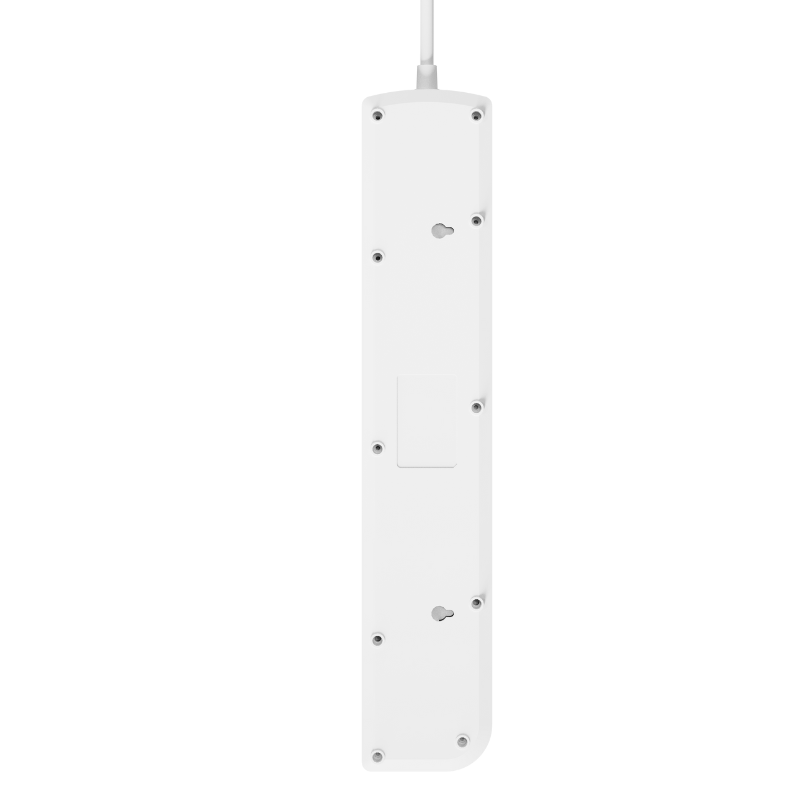
Manufacturers design these cases to stay shut. Use the correct precision bit to remove tamper-proof screws. Apply firm downward pressure to avoid stripping the screw heads. If the plastic housing uses snap-fit clips alongside screws, gently wedge a plastic spudger into the seam. Do not forcefully pry with a metal flathead, as this cracks the housing and ruins the structural integrity. Once open, document the internal layout. Take a clear smartphone photo before removing any wiring. You will need this reference to route the cables correctly later.
Cut back the main cord past the damaged section. Usually, removing the last two to three inches removes the internally severed copper. Use sharp wire cutters to ensure a clean break. Next, carefully strip the outer PVC sheath. Measure the required length by comparing it against your reference photo. Strip the inner wire insulation (Live, Neutral, and Earth) to the exact length required by the terminal blocks—usually about 8 to 10 millimeters. Twist the exposed copper strands tightly. Ensure no stray copper strands remain loose. A single stray strand can bridge across to an adjacent terminal and cause a catastrophic short circuit.
Insert the cleanly twisted copper into the respective terminal blocks. Tighten the screw terminals on the Live, Neutral, and Earth connections firmly. You want a secure mechanical grip without completely crushing or severing the delicate copper strands. Give each wire a gentle tug to ensure it holds fast. Next, re-seat the main cable firmly within the plastic strain relief grip. The outer sheath must sit fully inside this grip. If only the inner colored wires sit in the grip, any future pulling force will rip them directly out of the terminals.
Carefully route the wires back into their designated plastic channels. Close the housing, checking the seams closely. Ensure no wires get pinched between the plastic shells. Tighten the case screws securely. Before plugging the unit into the wall, perform a final pre-live test. Use your multimeter to check Earth continuity from the plug pin to an earth point on the strip. Then, check the resistance between the Live and Neutral pins. The meter must read infinite resistance (OL). If it shows continuity between Live and Neutral, you have created a dead short. You must open the case and fix it immediately.
Modern units feature integrated charging ports. Fixing an ordinary AC strip is vastly different from repairing a USB extension socket. The introduction of direct current (DC) components fundamentally changes the repair landscape.
A standard strip merely passes AC voltage from the wall to the plugged devices. A USB variant contains an internal transformer and a printed circuit board (PCB). This step-down circuit actively converts 120V or 240V AC mains power into a stable 5V DC output suitable for mobile devices. This requires capacitors, rectifier diodes, and integrated circuit chips. These delicate components operate under constant thermal stress.
When charging ports fail, the issue rarely lies with the wiring. Open the case and inspect the internal charging board. Look for cylindrical capacitors with bulging or leaking tops. Check for burnt, blackened resistors. If the board emits a strong chemical smell, a micro-component has burnt out. You can sometimes verify this by probing the PCB input (which will show mains voltage) and output (which will fail to show 5V DC).
While you might easily fix a severed cord on the AC plug side, a failed transformer board is another story. Repairing these boards requires specialized micro-soldering equipment, replacement surface-mount components, and deep knowledge of electronics. This process is highly impractical. For business and home users, replacing the entire unit is the only pragmatic and safe solution. Once the internal DC conversion components fail, any amateur soldering attempts introduce severe fire hazards. Protect your expensive mobile devices and simply purchase a new unit.
Electrical safety always supersedes minor cost savings. We cannot stress enough the importance of knowing your technical limits. A successful repair process requires accurate diagnosis, clean wire stripping, tight terminal connections, and rigorous multimeter testing. Remember to inspect the strain relief heavily, as it sustains the most physical abuse.
Ultimately, treat severe electrical burns or warped plastics as strict stop-signs. If you open an enclosure and find compromised internal brass rails, or if you lack a reliable multimeter to verify your work, stop immediately. We strongly route the final decision toward purchasing a high-quality, safety-certified replacement extension socket. Protecting your property from fire risks holds far more value than salvaging an outdated power strip.
A: No. Electrical tape does not provide adequate mechanical protection or insulation for mains voltage. The cord must be shortened and properly re-terminated inside the socket housing.
A: This indicates a dead short circuit inside the housing (e.g., Live and Neutral wires touching) or a connected appliance drawing more current than the socket's rated capacity. Discontinue use immediately.
A: While technically possible by hardwiring directly to the busbars, it removes a critical safety cutoff and alters the engineered design. Replacing the switch or the entire unit is strongly advised.